

연관 상품의 개수를 늘리고 슬라이드 형태로 보여지길 원하는 경우를 위해 적용해 보았습니다.
고려할 사항
- 연관 상품의 개수 늘리기
- 슬라이드 형태 적용을 위해 Owl Carousel css, js 추가
- 연관 상품의 구조를 Owl Carousel화 하기
- 테마에 맞게 스타일 조정
1. 연관 상품 개수 늘리기 (기본 4)
/**
 * Change number of related products output
 */
add_filter( 'woocommerce_output_related_products_args', 'custom_related_products_args', 20 );
  function custom_related_products_args( $args ) {
  $args['posts_per_page'] = 10; // 4 related products
//	$args['columns'] = 2; // owl carousel로 컬럼 수를 조정하기 때문에 필요 X
  return $args;
}
2. Owl Carousel css, js 파일들을 head 태그 안에 enqueue (포함시키기)
OwlCarousel에서 파일들을 다운로드 후 압축을 풀면, dist > assets 폴더 안에 필요한 3가지 파일을 찾을 수 있고, 이것들을 테마에 폴더(ex: /addons/owlcarousel)를 하나 만들어서 업로드 합니다.
/**
 * Enqueue scripts of child theme
 */
function custom_enqueue_script() {
    wp_register_style( 'owl-style', get_stylesheet_directory_uri() . '/addons/owlcarousel/owl.carousel.min.css', '', '1', 'all');
    wp_register_style( 'owl-theme', get_stylesheet_directory_uri() . '/addons/owlcarousel/owl.theme.default.min.css', '', '1', 'all');
    wp_register_script( 'owl-script', get_stylesheet_directory_uri() . '/addons/owlcarousel/owl.carousel.min.js', array('jquery'), '1', true);  // true = 푸터에서 적용, false = 헤더에서 적용
    if (is_woocommerce() && is_product()) {
        wp_enqueue_style( 'owl-style' );
        wp_enqueue_style( 'owl-theme' );
        wp_enqueue_script( 'owl-script' );
    }

}
add_action( 'wp_enqueue_scripts', 'custom_enqueue_script' );
연관 상품은 single product 에서 표시할 것이므로, is_product() 로 비교하여 enqueue시킴
3. 기본 연관 상품으로 표시되는 구조를 owl carousel 구조로 변경하기
wp_footer 훅을 이용하여, single product일때만 적용되는 스타일과, 스크립트를 등록합니다.
/**
 * Add scripts to wp_footer()
 */
function child_theme_footer_script() {
  if (is_woocommerce() && is_product()) {  ?>

    <style>
      .site-main ul.products.columns-3 li.product {
        width:100% !important;
        margin-right:0 !important;
        margin-bottom:0 !important;
      }
      .related .owl-nav {text-align:center;margin-top:1rem;}
      .related .owl-nav button.owl-prev:before {
        content: '\f060';
        margin-right:10px;
        font-family: 'Font Awesome\ 5 Free';
      }
      .related .owl-nav button.owl-next:before {
        content: '\f061';
        margin-left:10px;
        font-family: 'Font Awesome\ 5 Free';
      }
    </style>
    <script type="text/javascript">
      (function($) {

        $(document).ready(function(){
          $('.related .products').addClass('owl-carousel');
          $('.owl-carousel').owlCarousel({
            margin:10,
            loop:true,
            nav:true,
            dots:false,
            responsive:{
              0:{
                items:2
              },
              600:{
                items:3
              },
              1000:{
                items:4
              }
            },
            navText : ["",""],  // 대신 fontAwesome 아이콘으로 대체
          });
        });

      })( jQuery );
    </script>
<?php 	}
}
add_action( 'wp_footer', 'child_theme_footer_script', 99 );
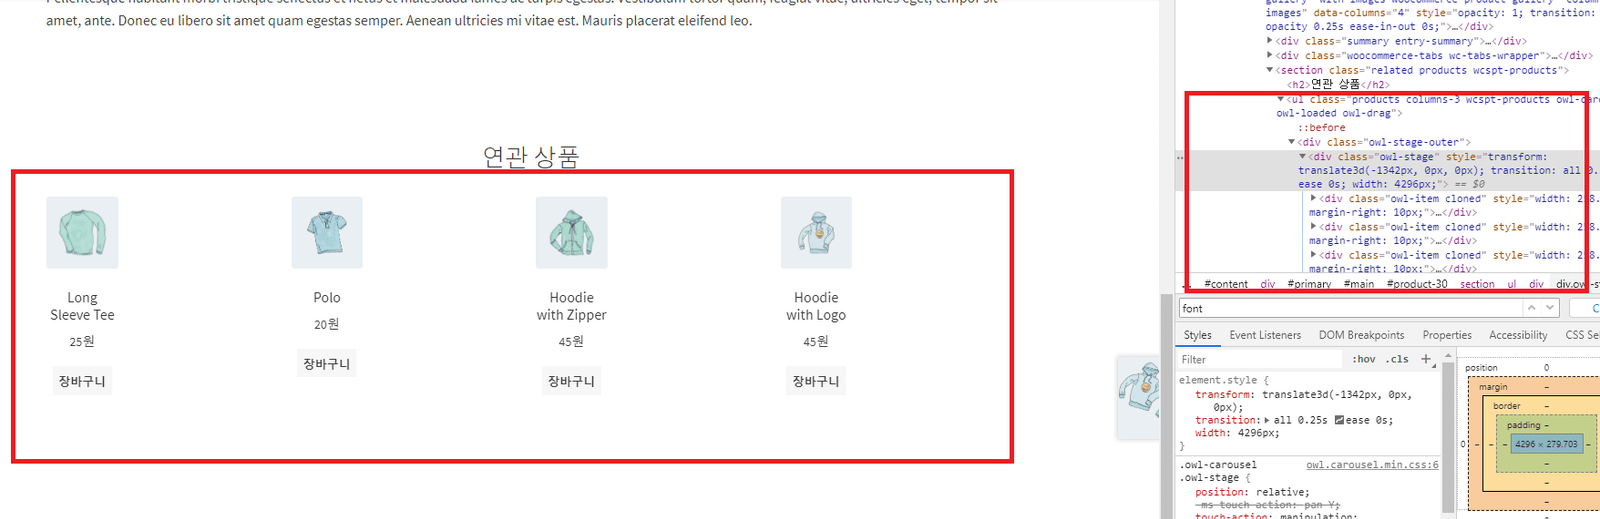
owl carousel 의 스타일 및 스크립트가 제대로 동작을 하기 위해서는 변경될 구조 바로 위 html 태그에 ‘owl-carousel’ 클래스가 추가 돼 있어야 합니다. 그래서 우선 연관 상품리스트를 감싸고 있는 ul 태그에 ‘owl-carousel’ 클래스를 추가한 다음, 이어서 이 클래스를 이용해서 하위 li 태그로 감싸진 상품들을 슬라이드 요소로 바꿔주는 함수를 선언합니다. (※ 자세한 사용법은 > owl carousel 문서 참조)
4. 스타일 수정
우커머스나 테마에서 미리 선언을 한 스타일 정의가 있기 때문에 3번으로 구조는 적용이 됐지만 원하는 모양이 바로 나오질 않습니다. 각 컬럼별로 상품이 꽉 차게, 그리고 아래쪽 네비게이션 화살표도 표시되도록 스타일 정의를 추가해 줍니다.
<style>
      .site-main ul.products.columns-3 li.product {
        width:100% !important;
        margin-right:0 !important;
        margin-bottom:0 !important;
      }
      .related .owl-nav {text-align:center;margin-top:1rem;}
      .related .owl-nav button.owl-prev:before {
        content: '\f060';
        margin-right:10px;
        font-family: 'Font Awesome\ 5 Free';
      }
      .related .owl-nav button.owl-next:before {
        content: '\f061';
        margin-left:10px;
        font-family: 'Font Awesome\ 5 Free';
      }
    </style>
위 3번에 이미 포함이 돼 있는 코드. fontAwesome 폰트는 이미 storefront 테마에 포함이 돼 있습니다. 만약 추가가 돼 있지 않은 테마의 경우엔 https://fontawesome.com/ 에서 안내된 방법으로 테마에 enqueue합니다.
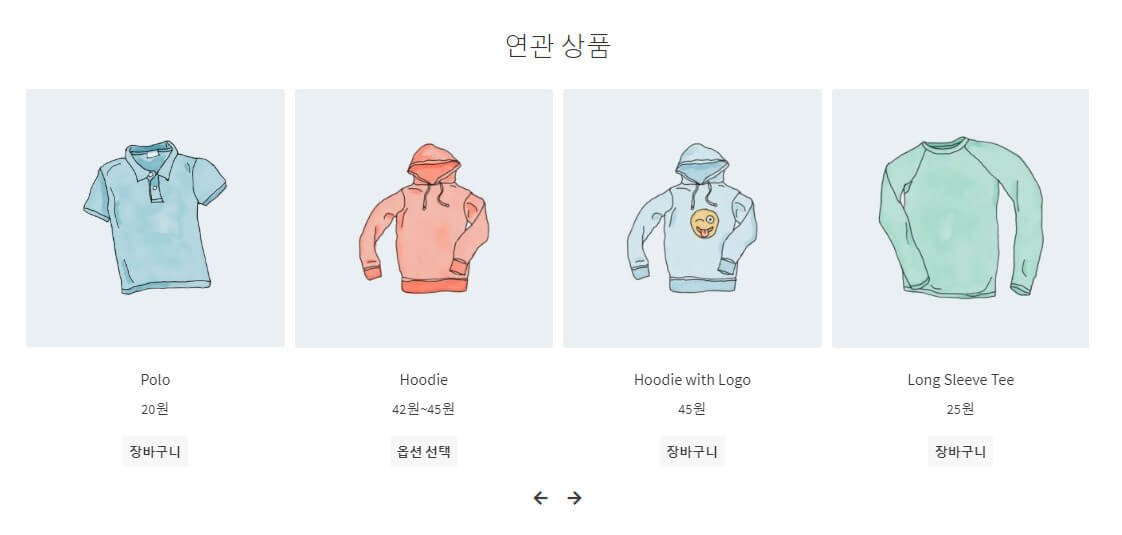
위와 같이 진행한 결과, 총 10개의 연관 상품을 옆으로 넘기면서 볼 수 있는 슬라이드가 적용 되었습니다.
 (모바일에선 2 컬럼이 나오도록 위에서 옵션 설정을 했음)
끝.